
Installation
StoreMine installs through a browser-based setup wizard. Upload the files, open your domain, and answer five short screens — the wizard checks your server, writes .env, creates the database and its tables, seeds the default data and creates your admin account.
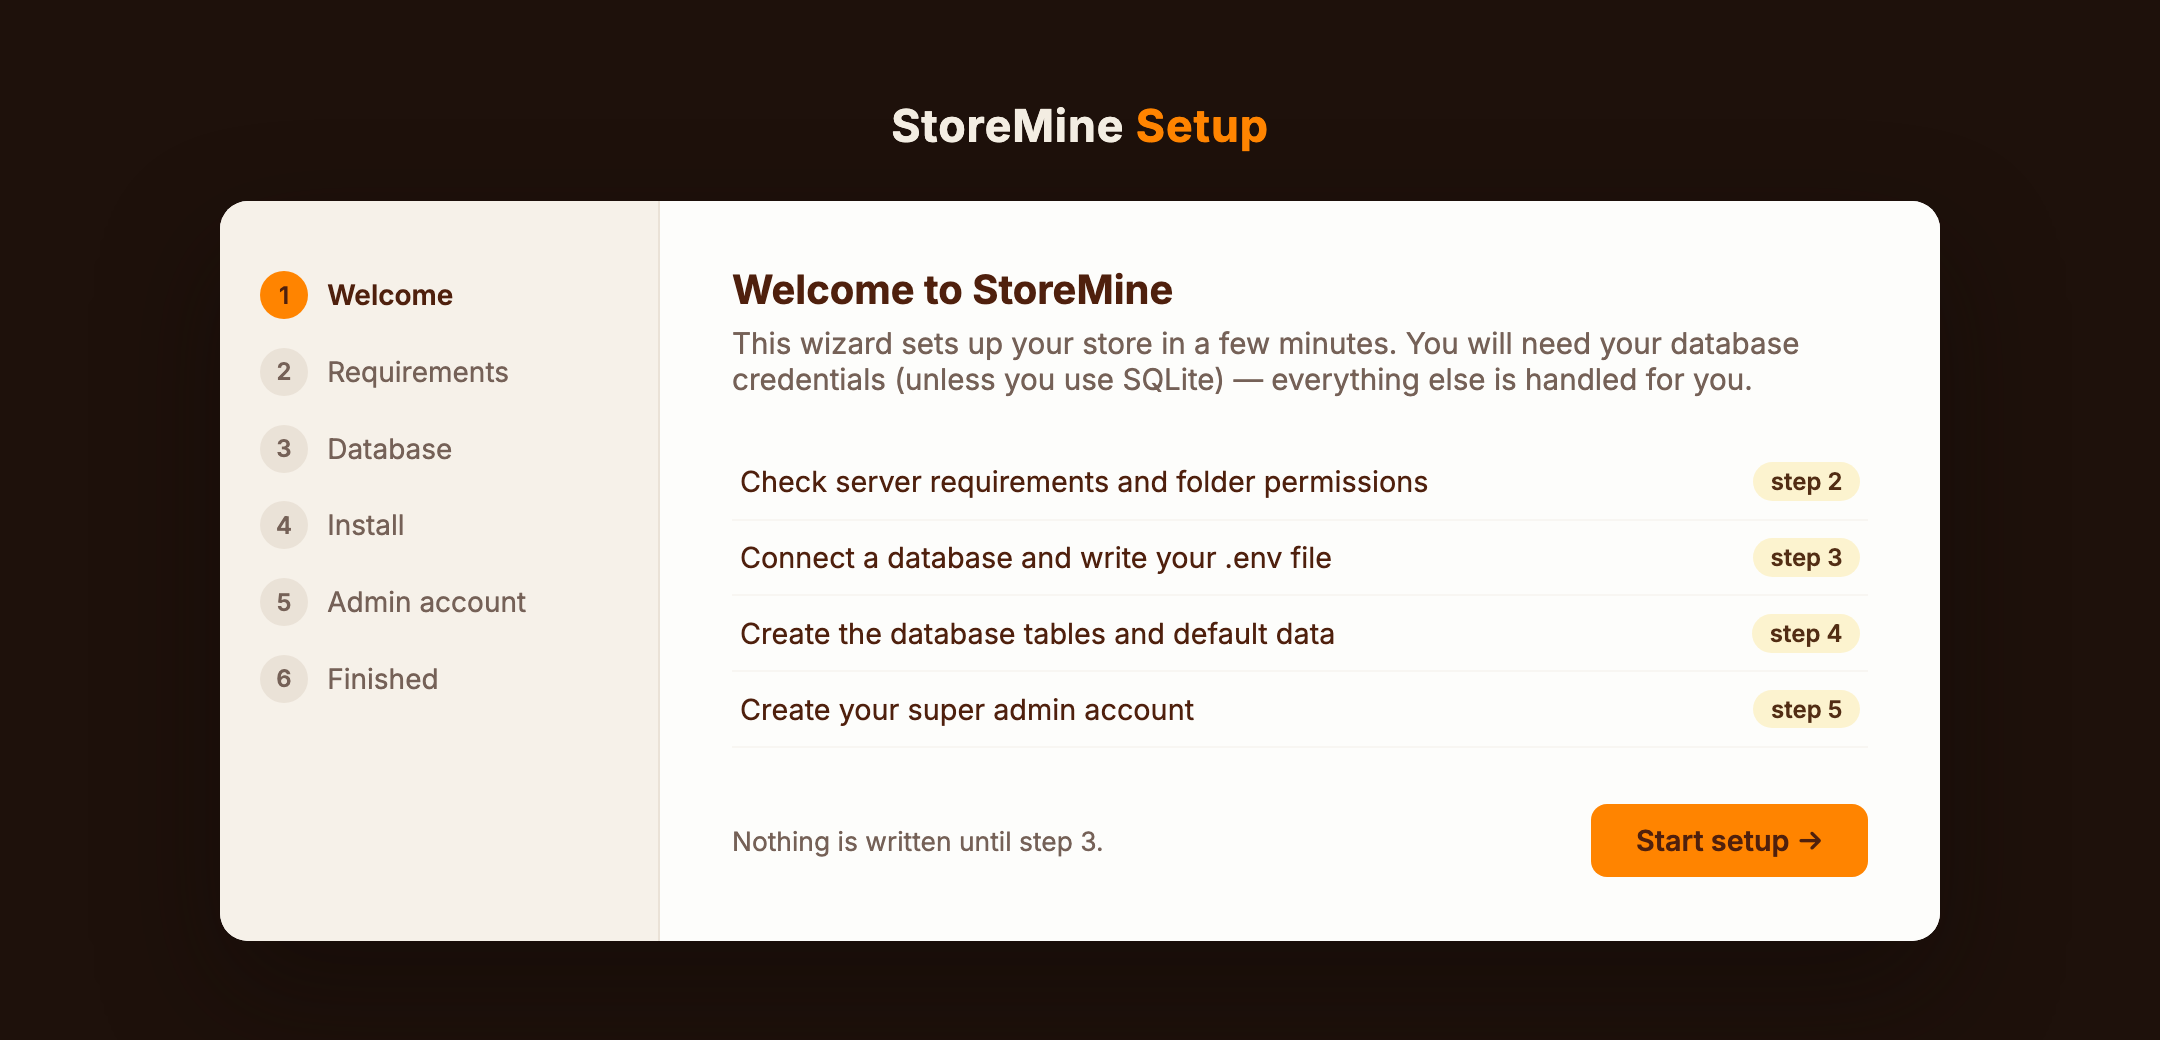
Before you start
Your server should meet the requirements (PHP 8.3+, MySQL 8 or MariaDB 10.6+). Have your database credentials ready — or pick SQLite in the wizard and skip them entirely.
Prefer the terminal, or scripting an automated deploy? Every step below has a command-line equivalent in Manual installation (CLI).
1. Upload the code
Unzip the package into your web directory and point your web server's document root at the public/ folder — never the project root.
/var/www/storemine          ← project root
/var/www/storemine/public   ← document root
Sample virtual-host configs ship in deploy/ (nginx.conf, apache-storage-hardening.conf).
The wizard does not install dependencies
PHP and JavaScript packages are the one thing a browser cannot do for you. Before opening the wizard, make sure the upload contains a vendor/ directory and a built frontend in public/build/.
The CodeCanyon package ships with both, so a plain upload is enough. If you cloned the repository instead, run these once over SSH:
composer install --no-dev --optimize-autoloader
npm ci && npm run build
The wizard still runs without a frontend build — it will just warn you at the end that the storefront won't render until you build it.
Make sure the web server user can write to these paths, or step 2 will stop you:
sudo chown -R www-data:www-data storage bootstrap/cache .env
sudo chmod -R 775 storage bootstrap/cache
2. Open your site
Visit your domain in a browser. Until installation completes, every URL redirects to /install, so https://your-domain.com is enough.
The wizard is stateless: it uses no sessions and no CSRF tokens (there is no database to store them in yet), so you can refresh or go back at any point without breaking anything. Nothing is written to disk until step 3.
Install immediately after uploading
While the site is uninstalled, anyone who reaches it can run the wizard and become its administrator. Don't upload the files days before you set them up, and don't leave a half-finished install exposed. Once the wizard finishes it locks itself and disappears.
3. Requirements check
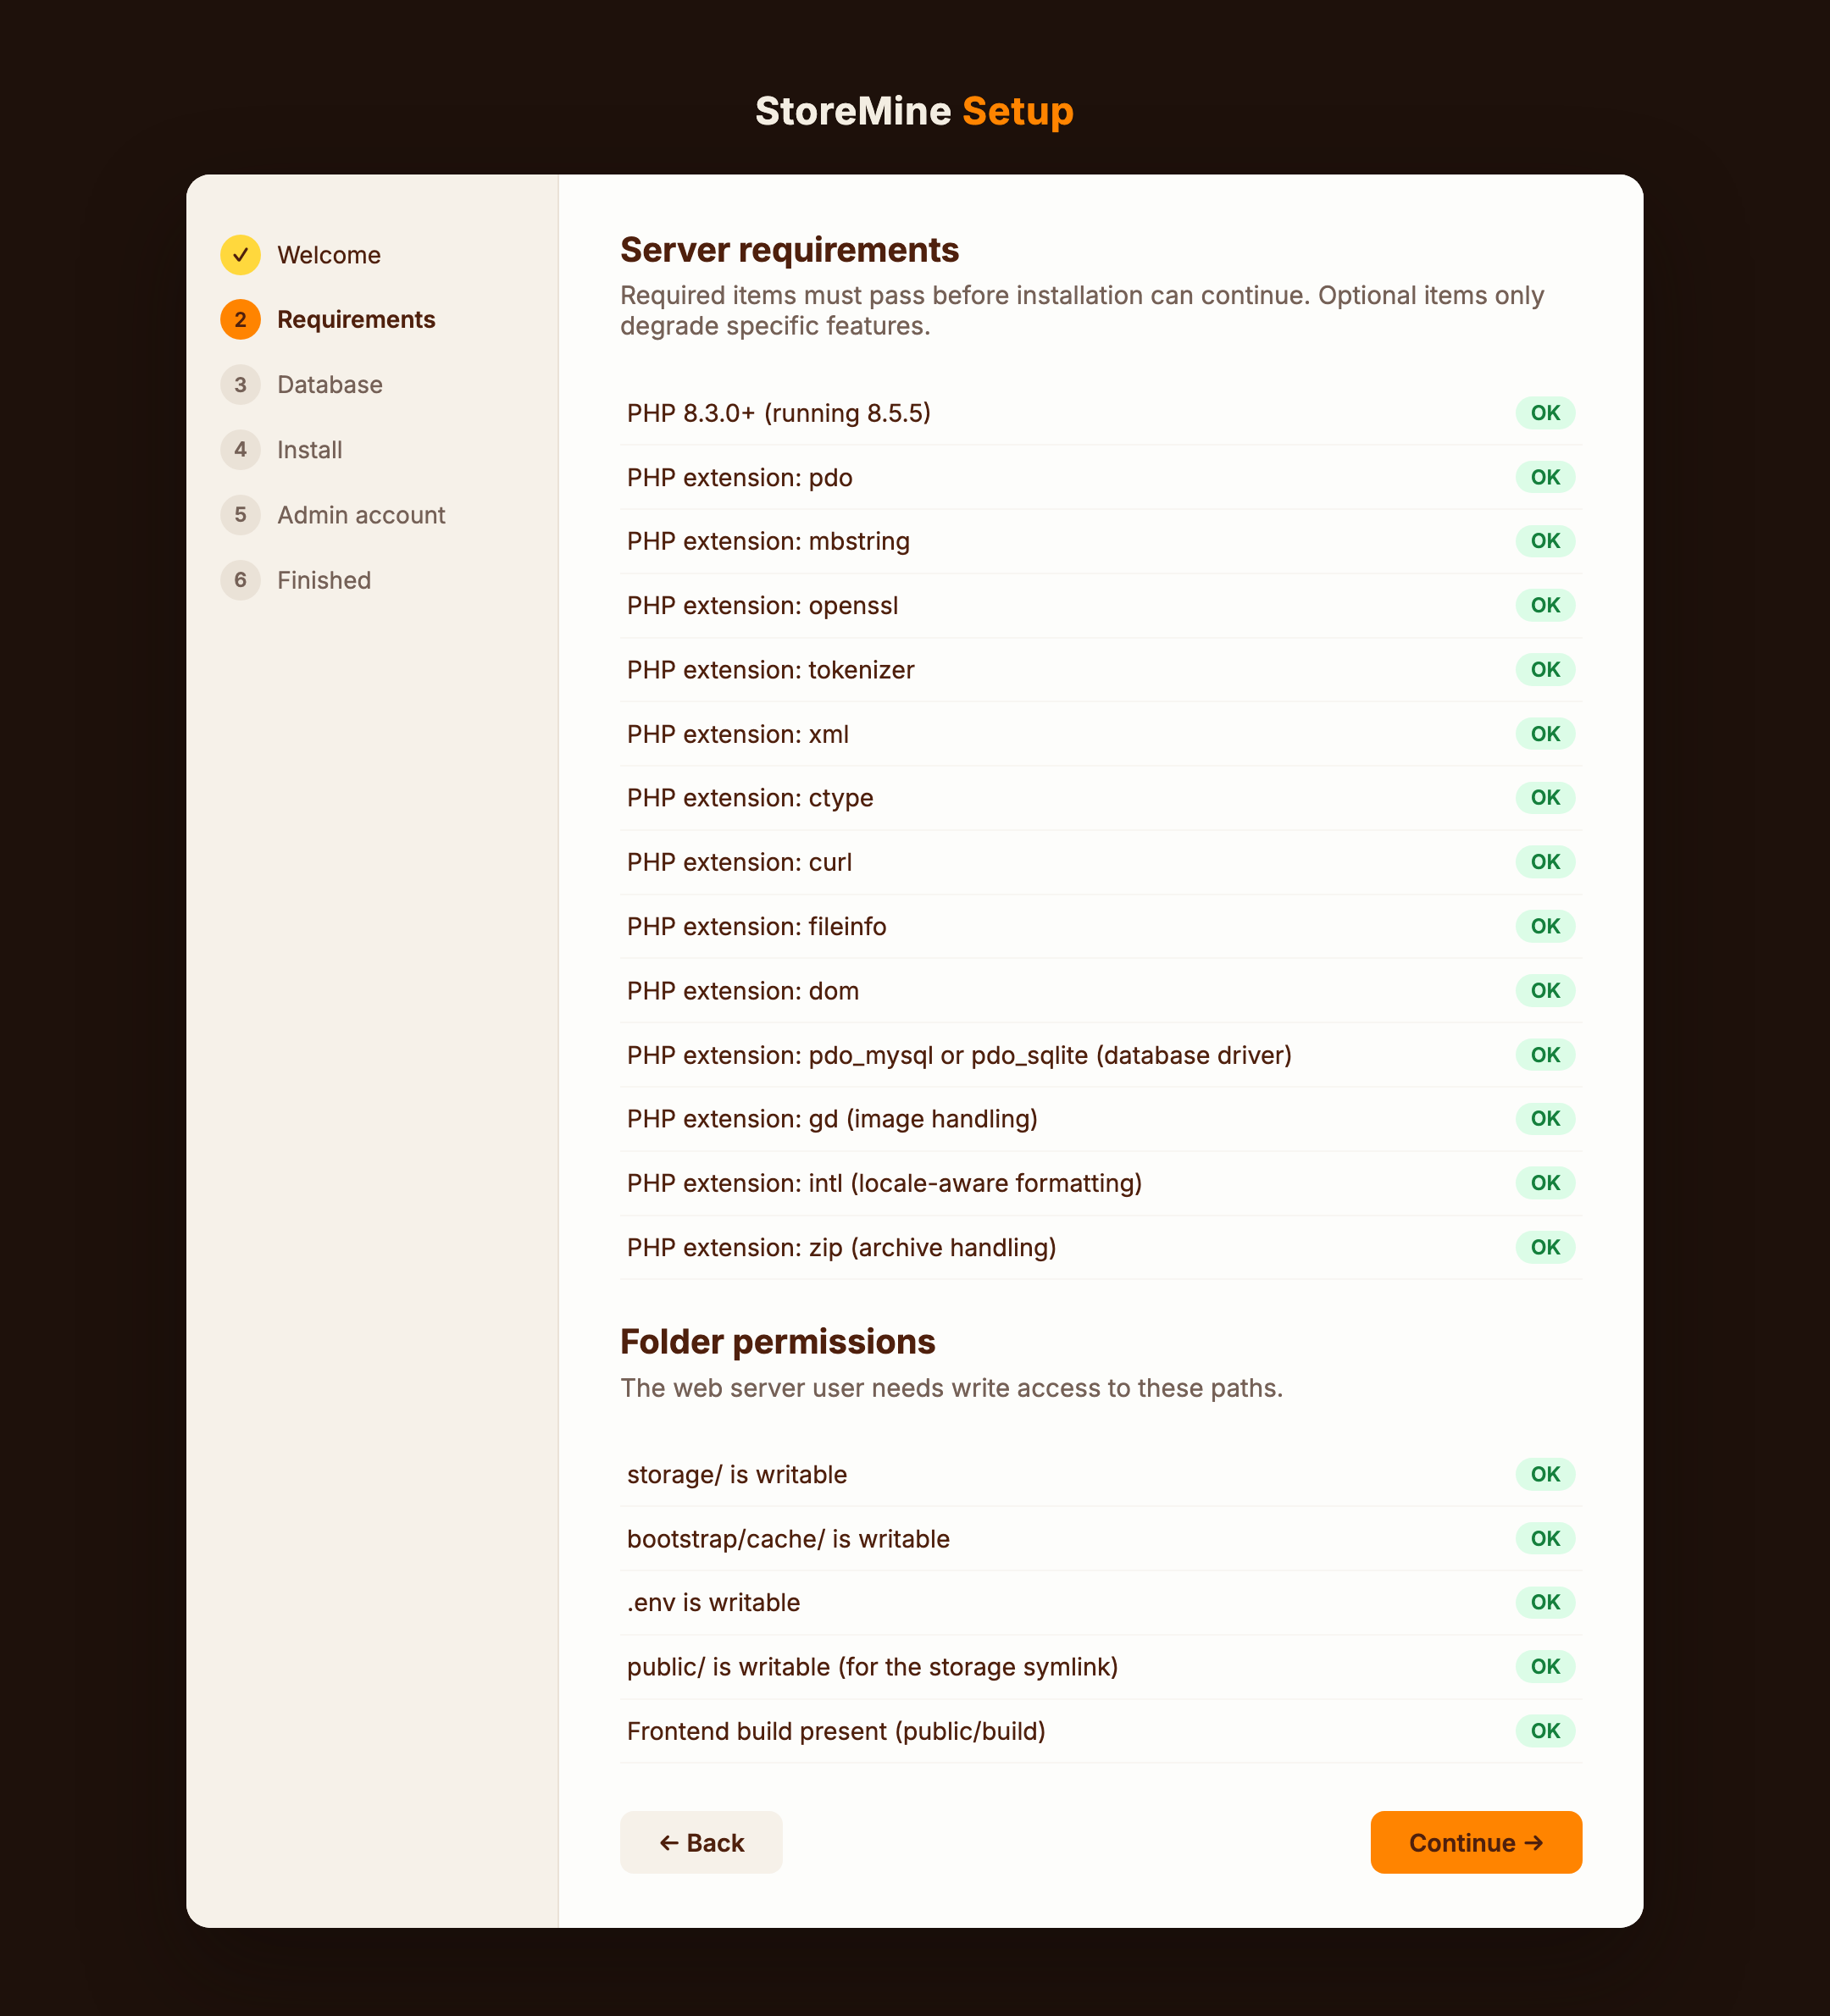
The second screen verifies PHP version, extensions and folder permissions on the live server — the things that silently break an install later.
| Group | Checked |
|---|---|
| Required | PHP 8.3+, and the pdo, mbstring, openssl, tokenizer, xml, ctype, curl, fileinfo, dom extensions, plus pdo_mysql or pdo_sqlite |
| Required | storage/, bootstrap/cache/ and .env writable |
| Optional | gd (image handling), intl (locale-aware formatting), zip (archives) |
| Optional | public/ writable (for the storage symlink), frontend build present |
Optional items only degrade specific features — you can continue past them. Anything marked Missing or Not writable blocks the Continue button; fix it on the server and hit Re-check. The usual fix for permissions:
chmod -R ug+rwX storage bootstrap/cache
4. Database connection
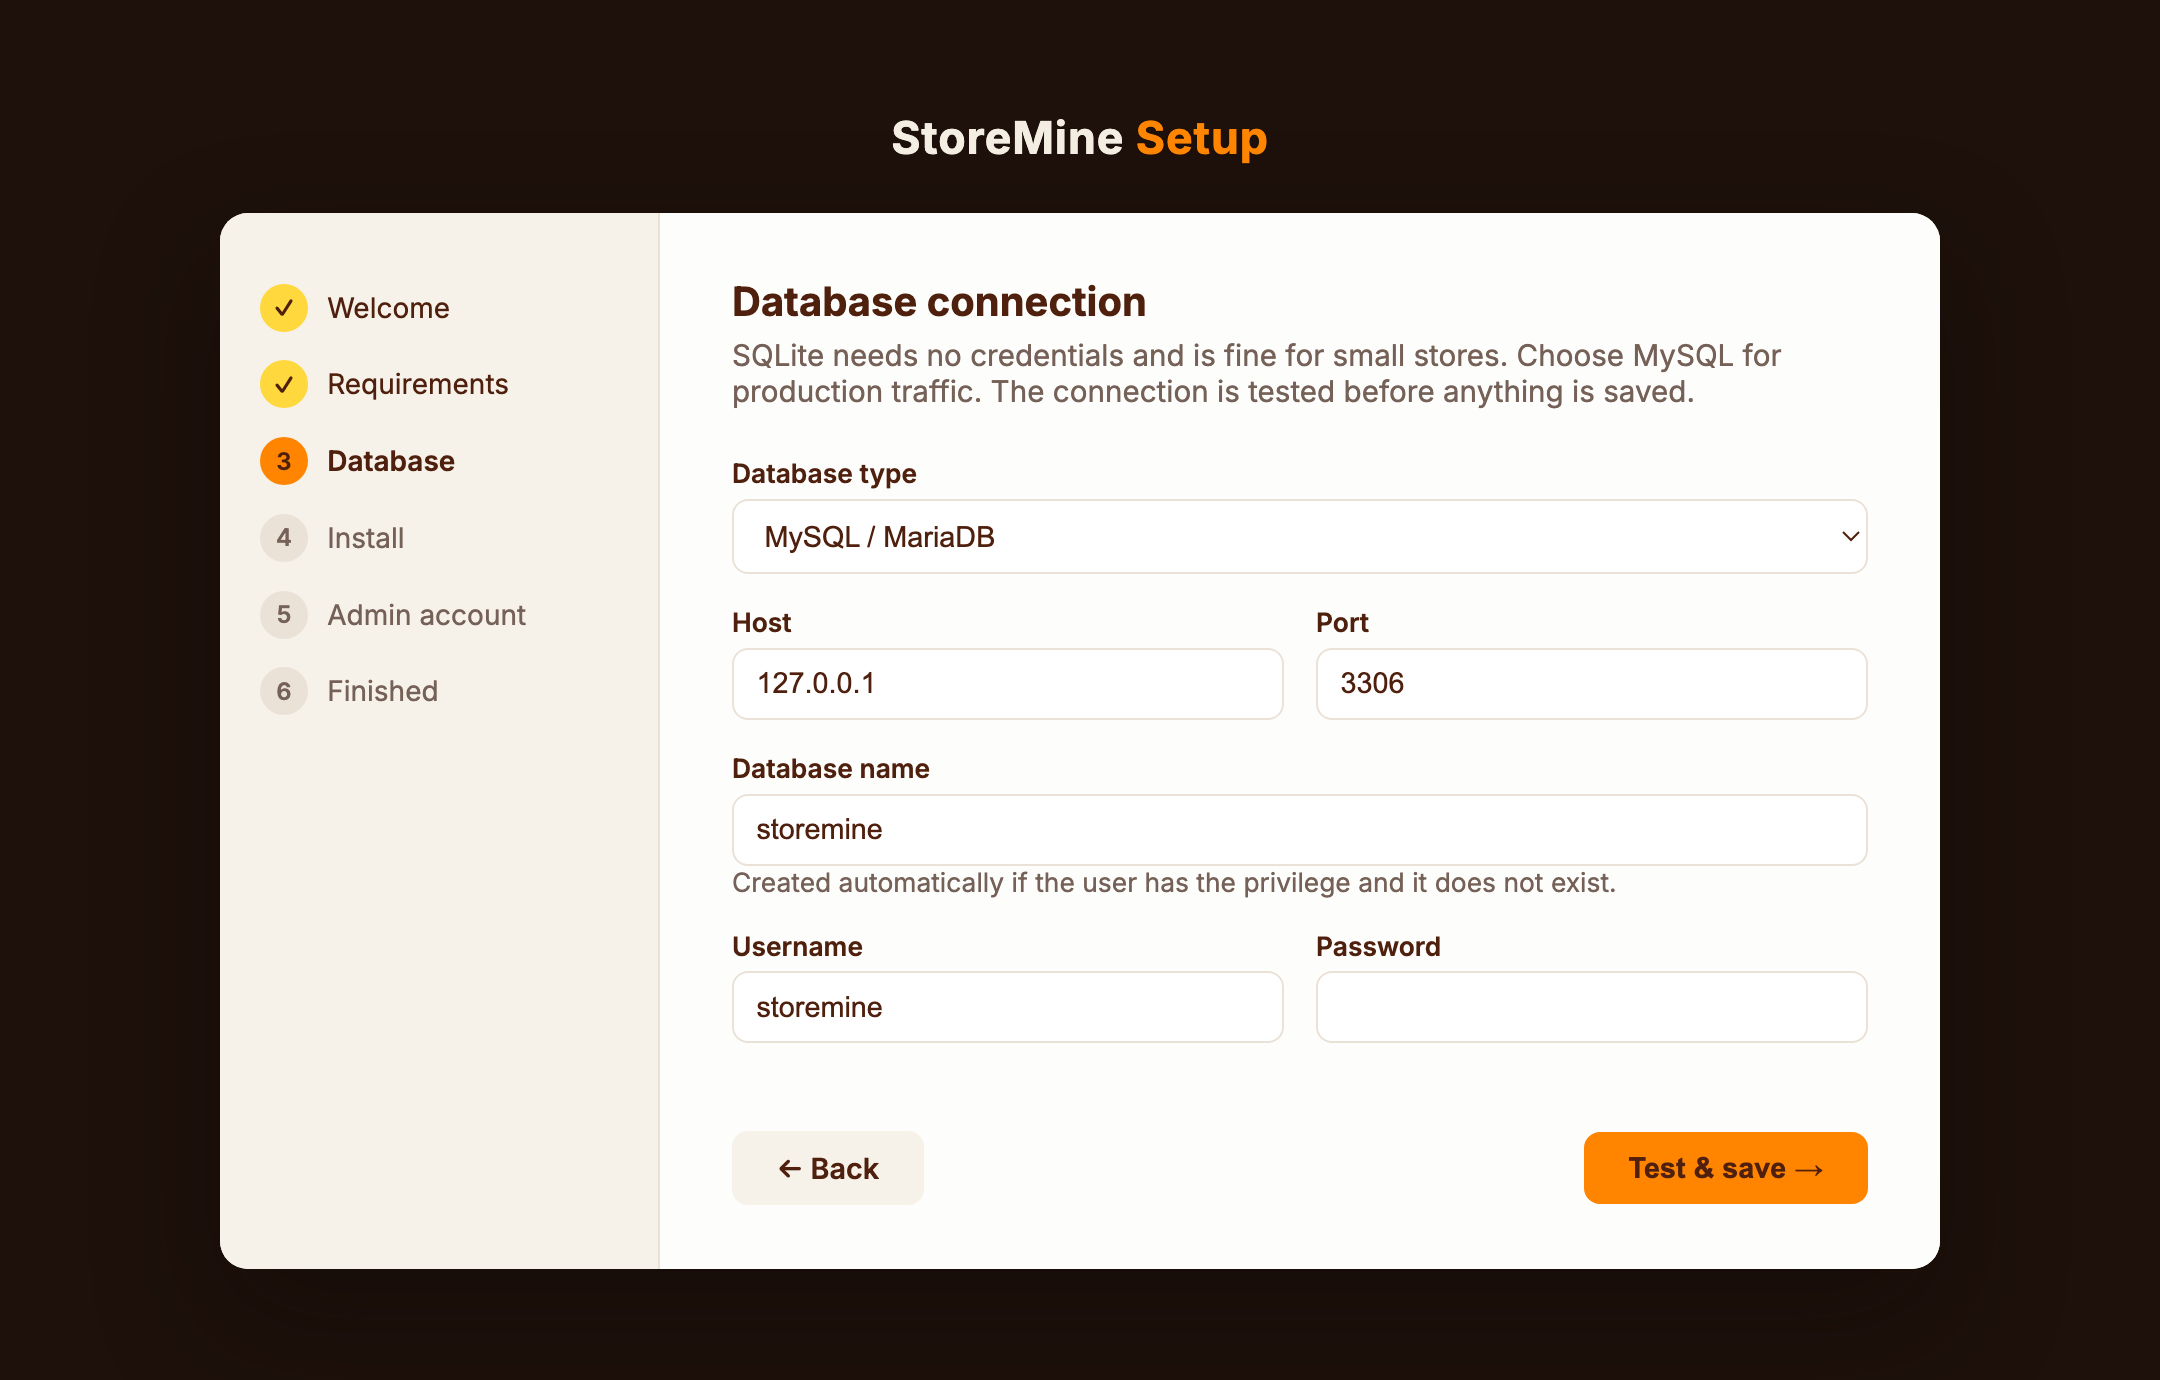
Pick a driver and fill in the credentials:
- MySQL / MariaDB — recommended for anything with real traffic. Host, port, database name, username, password.
- SQLite — no server, no credentials. Fine for evaluation and very small stores; the file is created at
database/database.sqlite.
Two conveniences worth knowing:
- The connection is tested before anything is saved. A wrong password comes back as an error on this screen, not as a broken install.
- The database is created for you if it doesn't exist yet and your MySQL user holds the
CREATEprivilege (utf8mb4/utf8mb4_unicode_ci). If it doesn't, create it first and the wizard will just connect to it.
On Test & save, the wizard writes .env: the DB_* keys, your APP_URL (taken from the address you're browsing), a freshly generated APP_KEY if one isn't set, and SESSION_SECURE_COOKIE=true when you're on HTTPS. Existing comments and key order in the file are preserved.
Everything else — mail, payments, storage, AI — is optional and configured later from the admin panel or .env; see Configuration.
5. Create the database tables
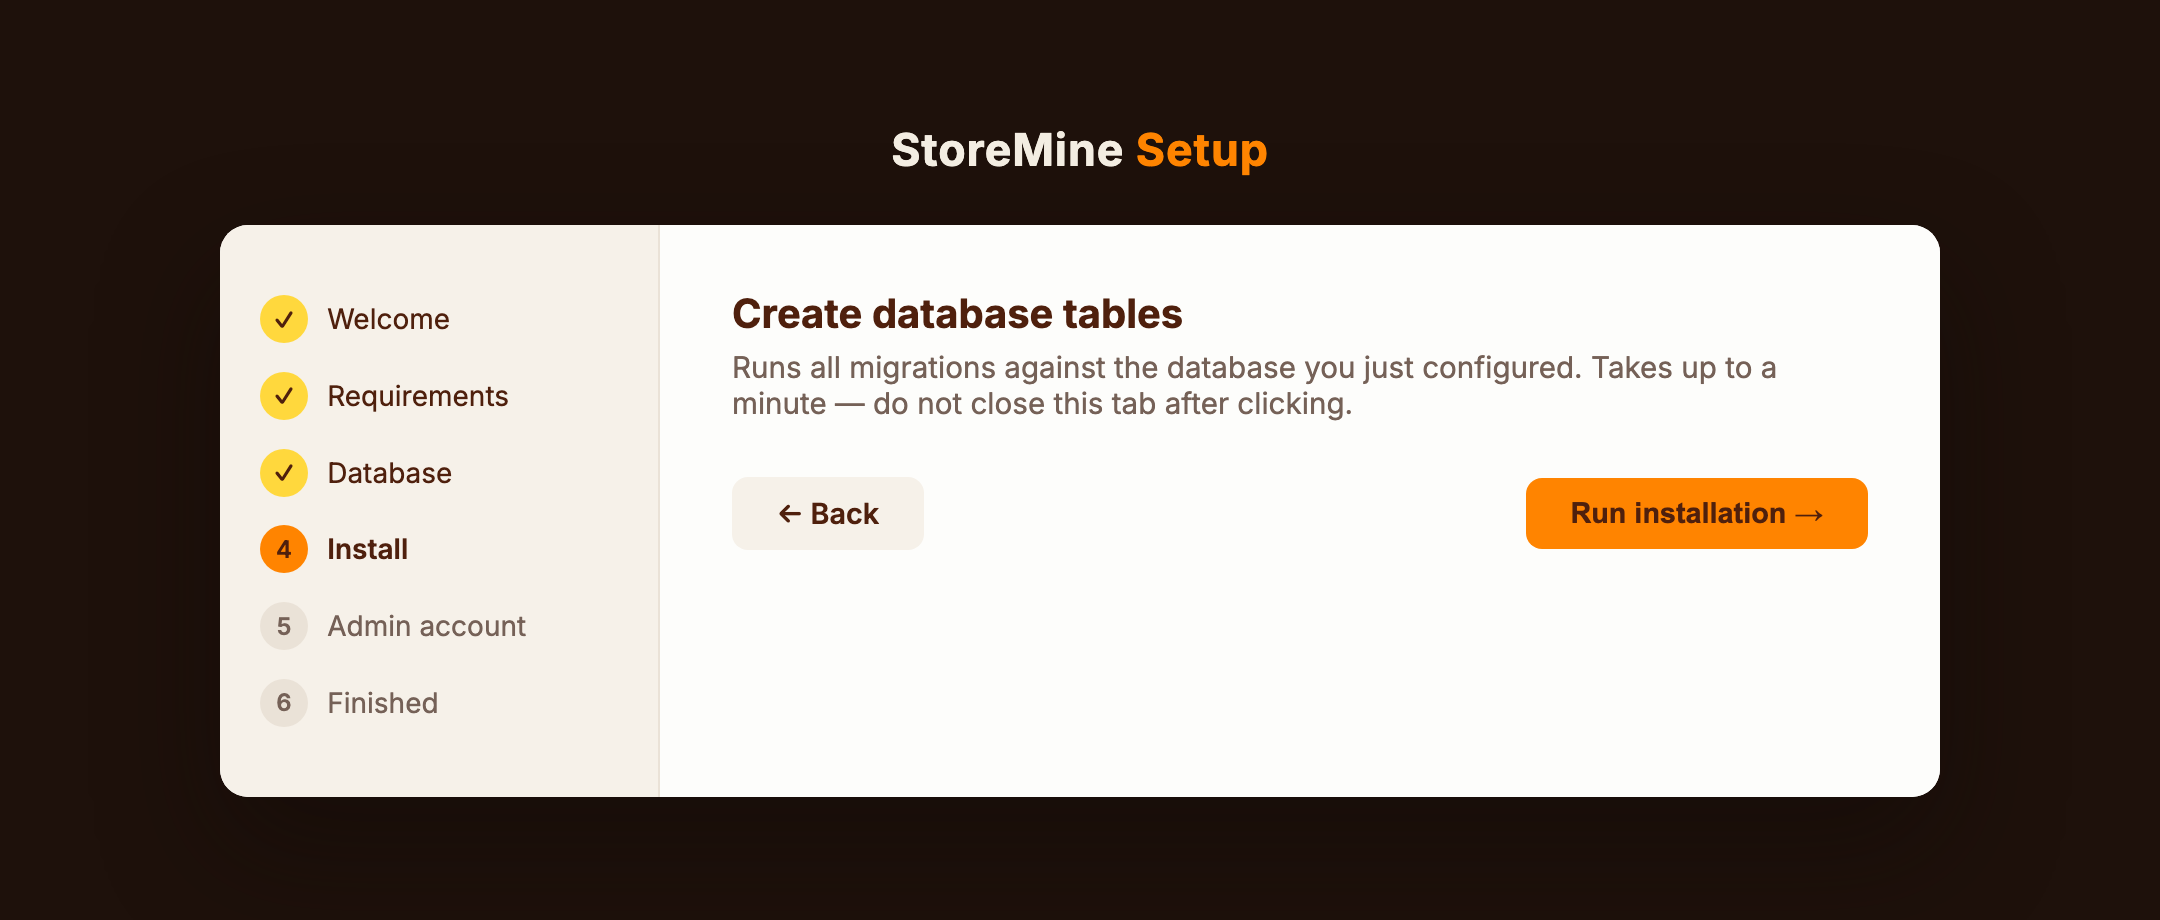
One button. It runs all migrations against the database you just configured.
Don't close the tab
Migrations take up to a minute on a typical VPS. The request is allowed 5 minutes of PHP execution time — if your web server cuts it off sooner (nginx fastcgi_read_timeout, Apache Timeout), raise that or run php artisan migrate --force over SSH and return to the wizard.
Failures are shown with the full Artisan output on this screen, so you can read the actual SQL error instead of a generic 500.
6. Admin account (and optional demo data)
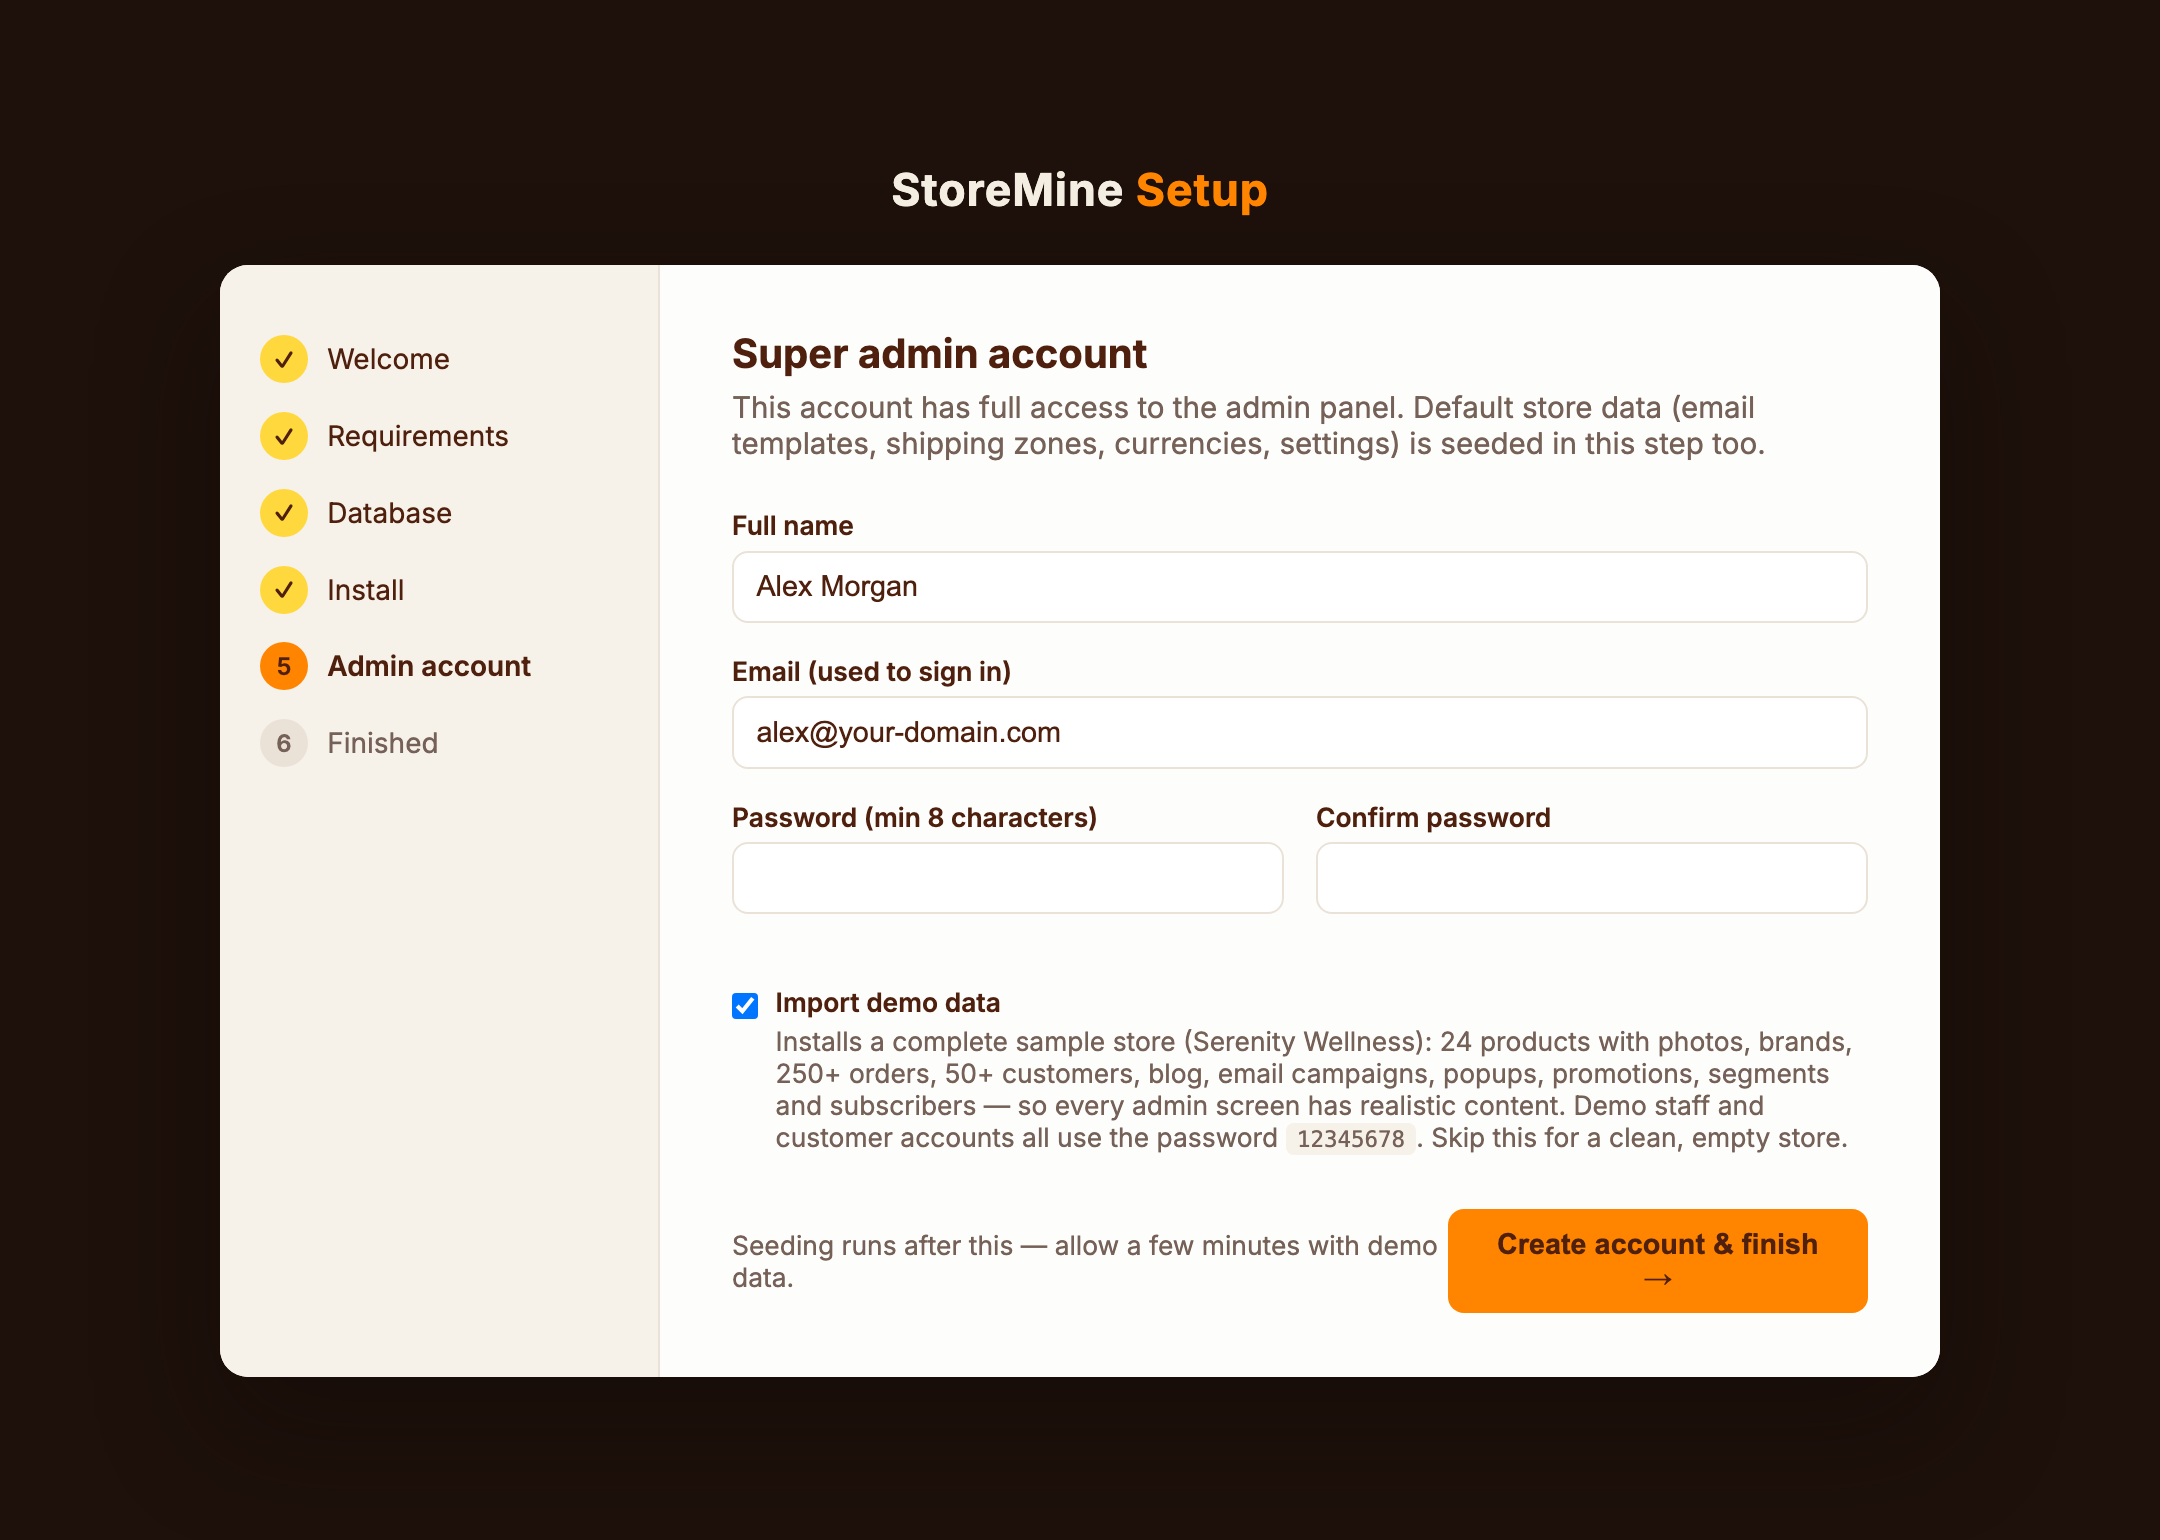
Create the super admin — full access to the admin panel. The password needs at least 8 characters and must be confirmed. This is also the step that seeds the store's baseline: business settings, email templates, static pages (privacy, terms, contact), shipping zones and rates, currencies, payment and storage settings.
Import demo data
Tick Import demo data to install the complete sample store (Serenity Wellness) — 26 products with photos, brands, hundreds of orders, customers, blog posts, email campaigns, popups, promotions, segments and subscribers, so every admin screen has realistic content to explore. See Demo data for the full inventory.
Demo accounts use a well-known password
All seeded demo staff and customer accounts share the password 12345678. Your own admin account keeps the password you chose here. Leave the box unticked for a real store — or wipe the demo later with php artisan migrate:fresh --force && php artisan db:seed --force.
Seeding runs when you submit; allow a few minutes with demo data. The wizard then creates the public/storage symlink automatically, records APP_INSTALLED=true in .env, and locks itself.
7. Done
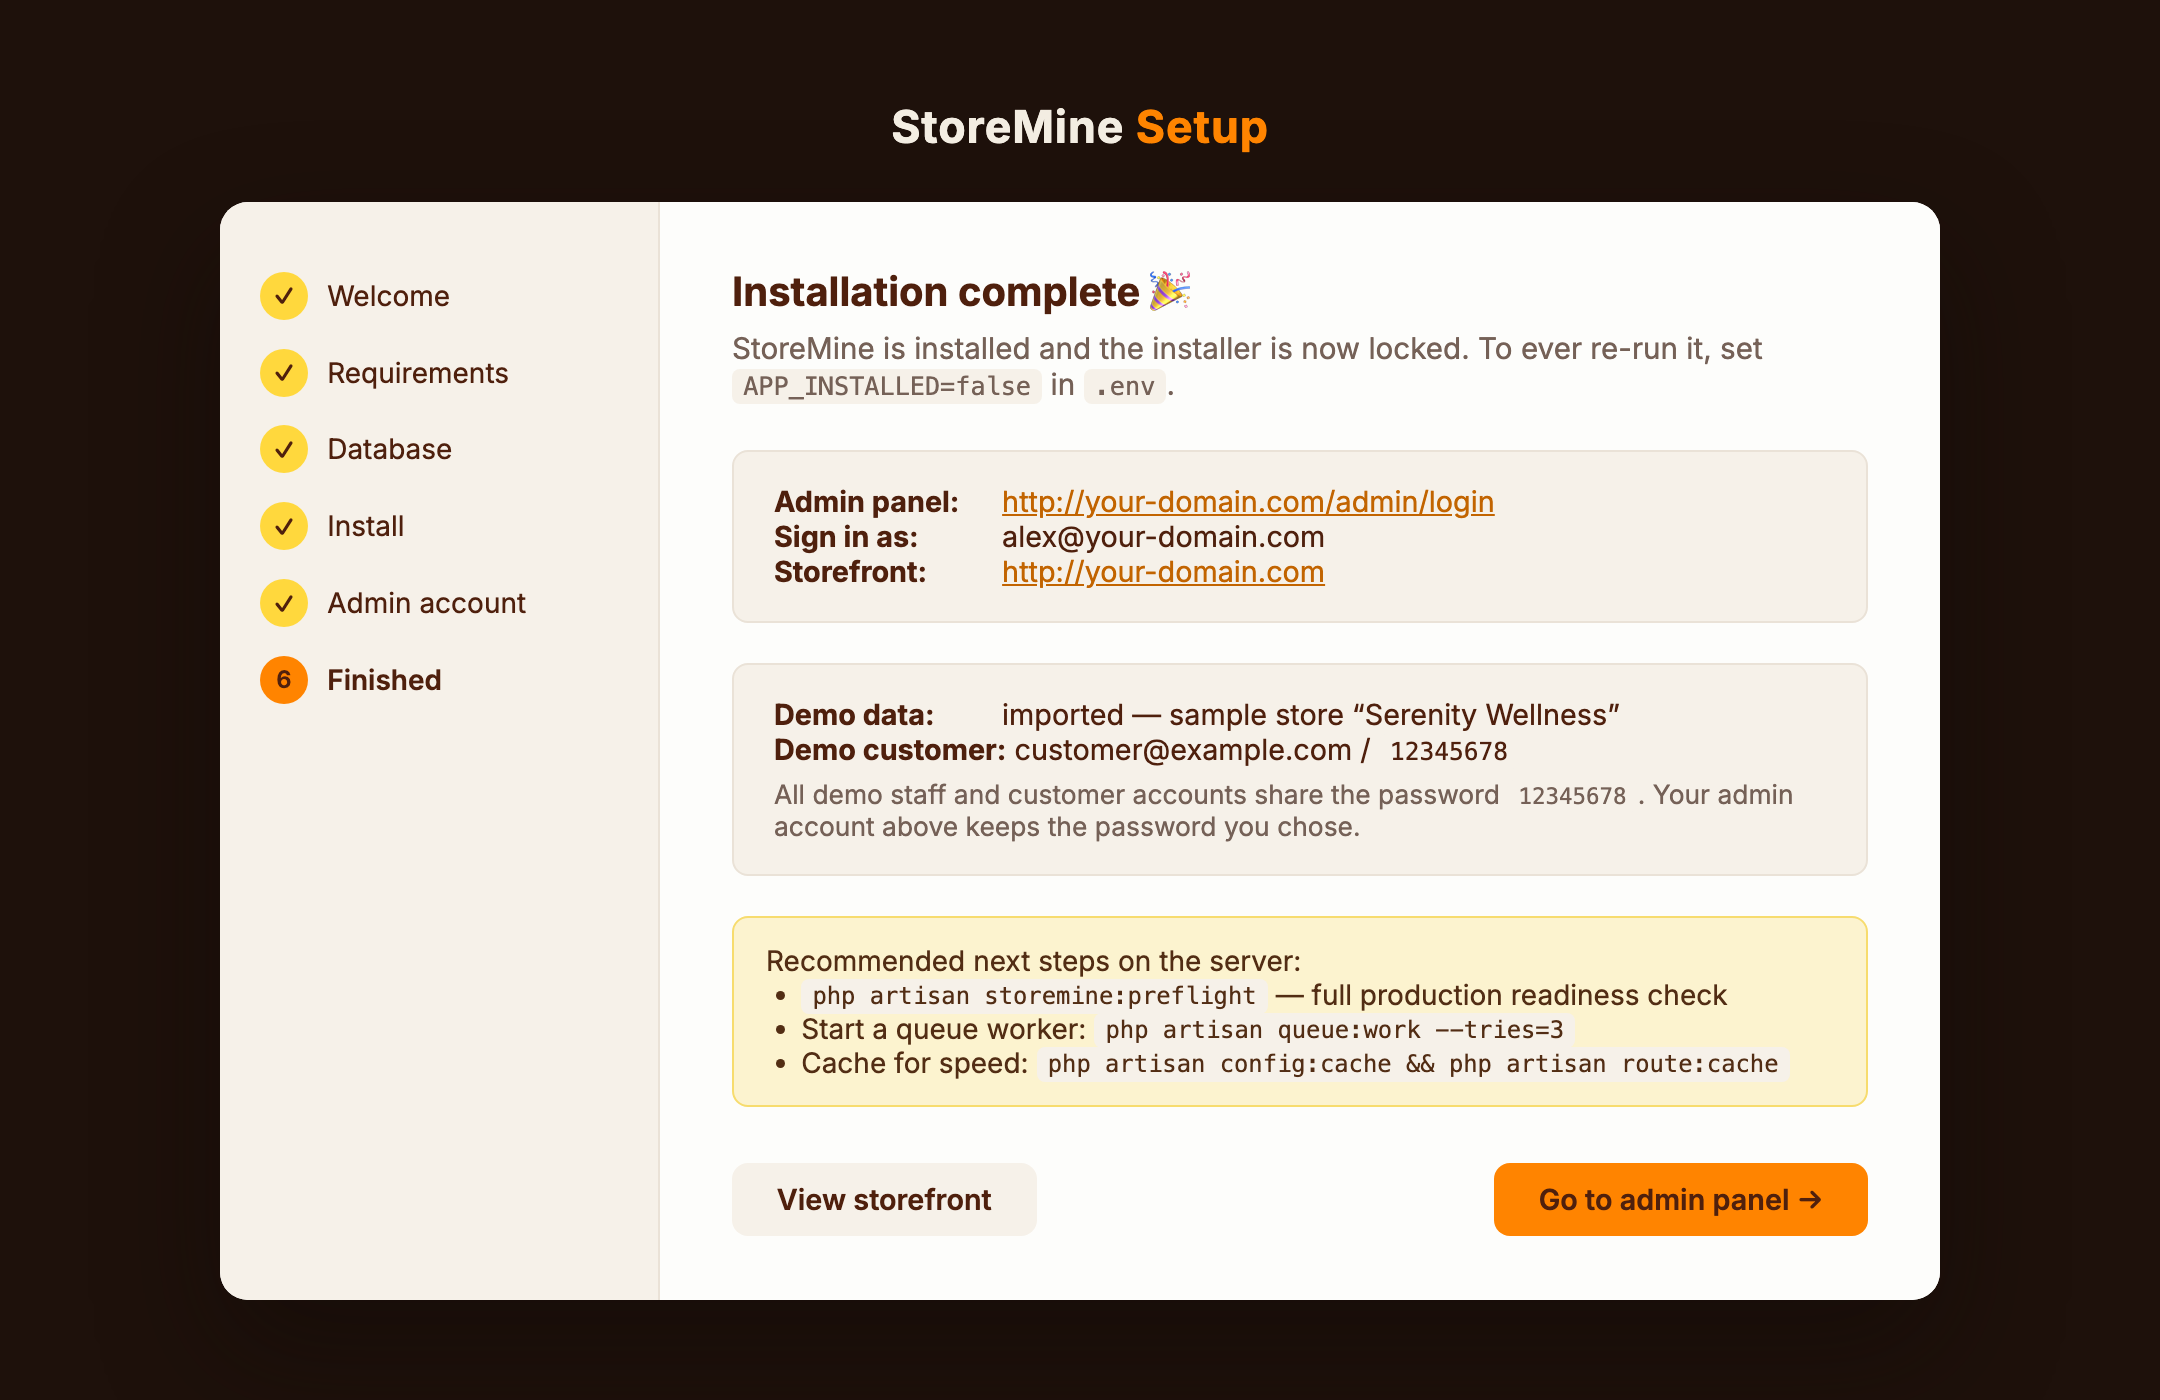
The final screen hands you the storefront and admin URLs, your sign-in email, and any warnings worth acting on (a missing frontend build, a symlink it couldn't create).
| URL | |
|---|---|
| Storefront | https://your-domain.com/ |
| Admin panel | https://your-domain.com/admin/login |
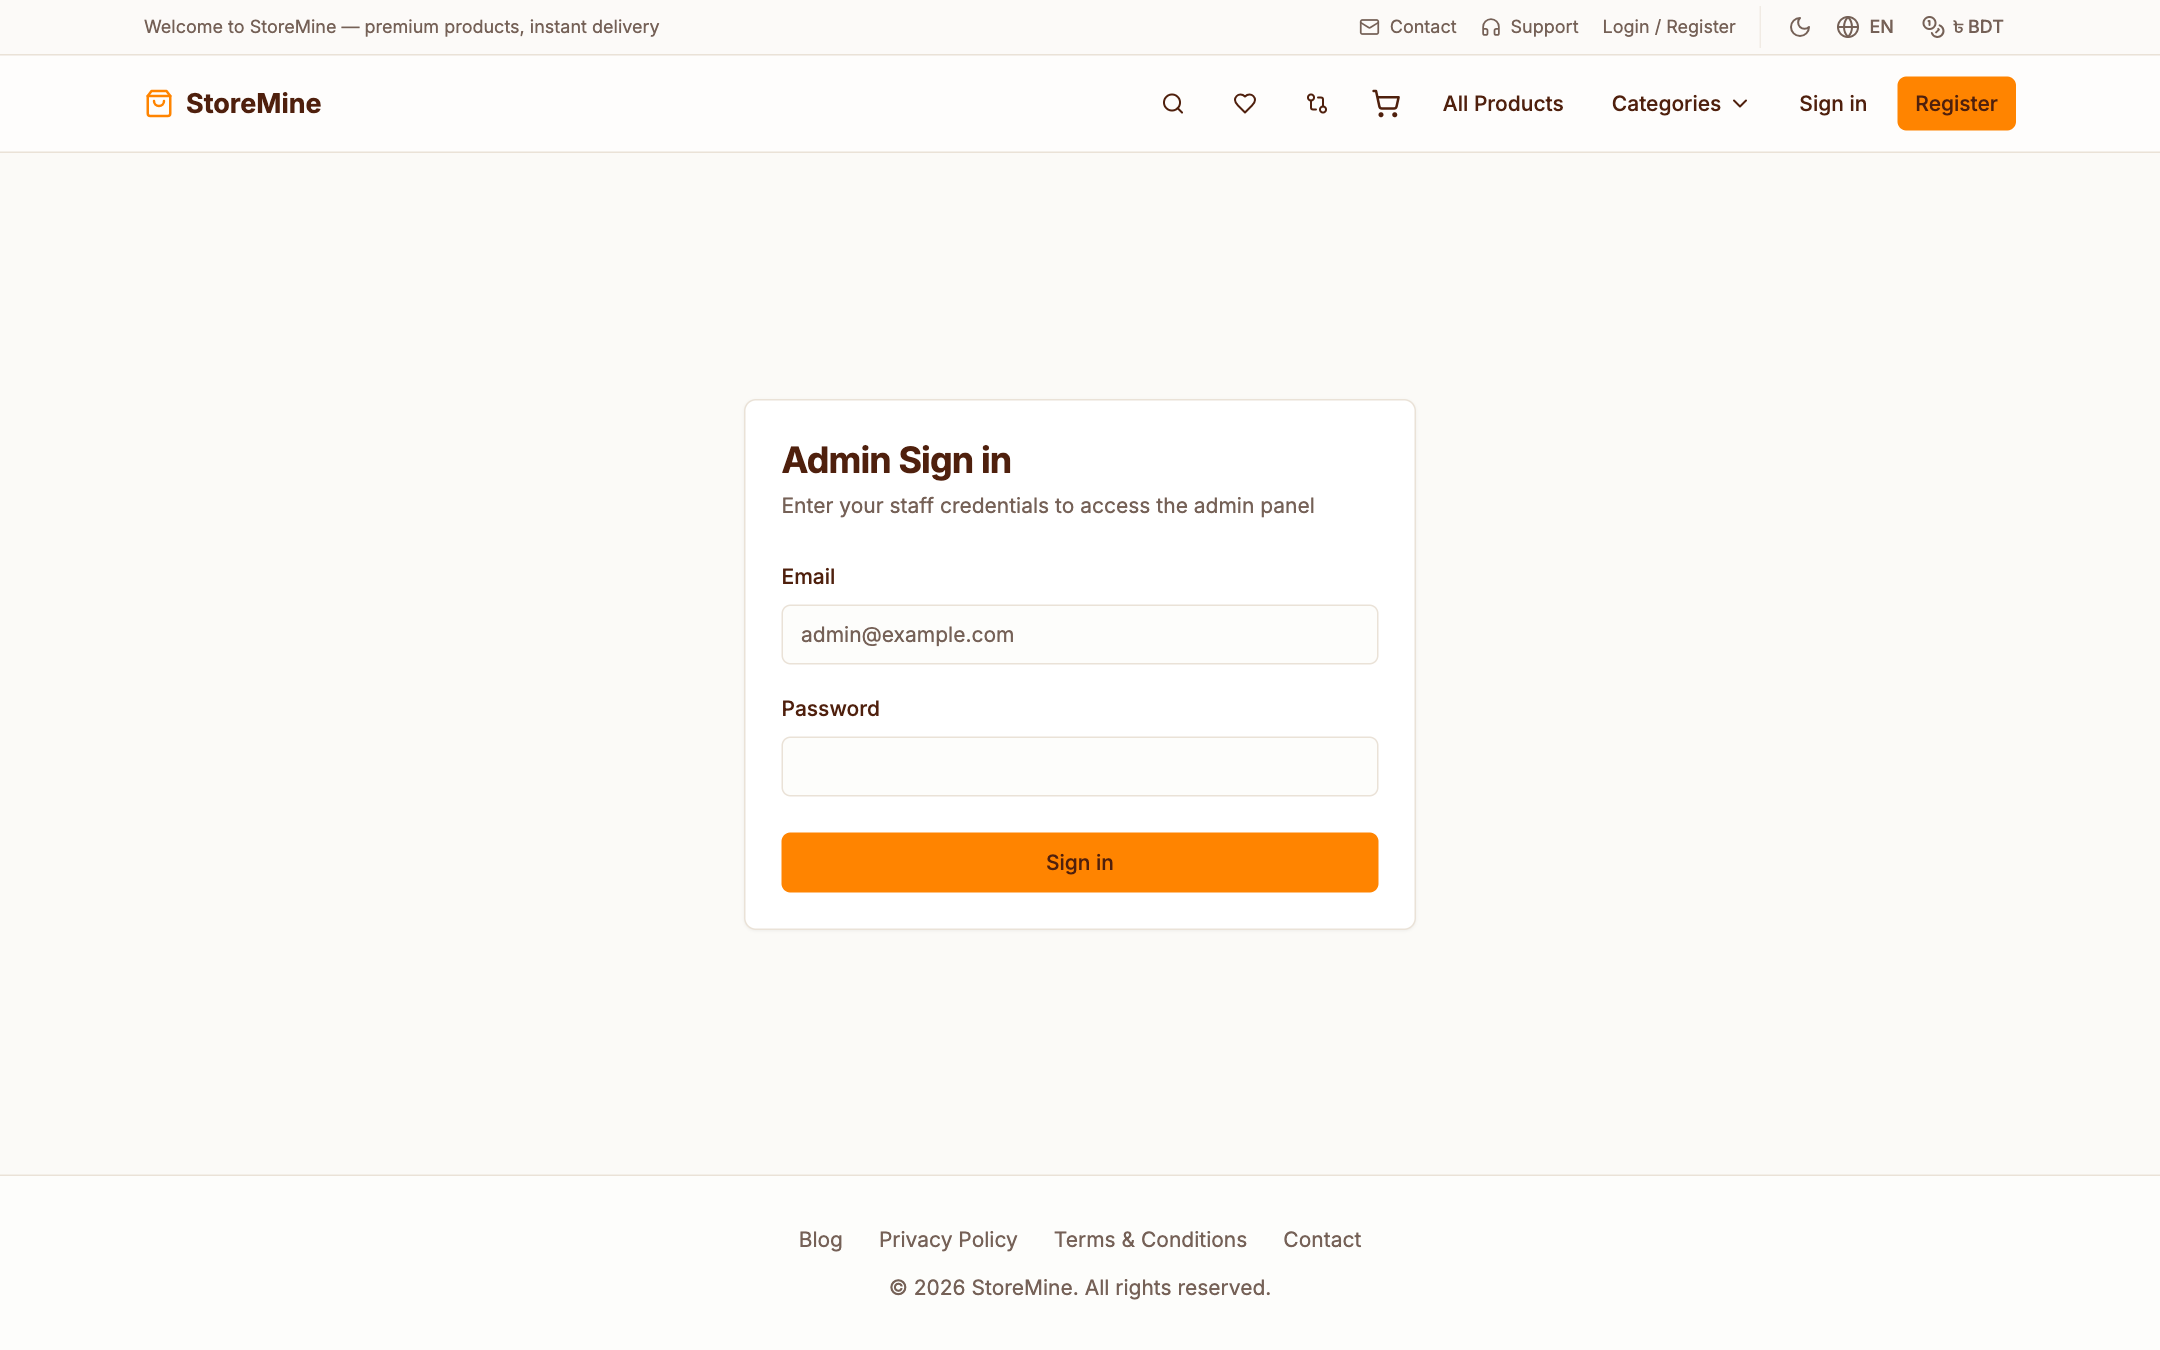
After the wizard
The installer sets up the application; these last pieces live on the server and are what separate a working install from a production one.
# 1. Verify — ~30 checks that are invisible until they cost you money
php artisan storemine:preflight

# 2. Queue worker (emails, campaigns, AI jobs) — keep it alive with Supervisor
sudo cp deploy/supervisor-storemine.conf /etc/supervisor/conf.d/
sudo supervisorctl reread && sudo supervisorctl update

# 3. Scheduler — one cron entry (see deploy/crontab)
* * * * * cd /var/www/storemine && php artisan schedule:run >> /dev/null 2>&1

# 4. Cache for production speed
php artisan config:cache && php artisan route:cache && php artisan view:cache
Also set APP_ENV=production and APP_DEBUG=false in .env — preflight fails until you do. The full production guide is in Deployment.
Then head to Settings to configure payments, email and branding.
Re-running the installer
The wizard vanishes once APP_INSTALLED=true; visiting /install afterwards just redirects to the storefront. To run it again — a fresh database, a new environment — set the flag back:
APP_INSTALLED=false
php artisan config:clear # only if you ran config:cache
Re-installing over a live store
Re-running the wizard against a database that already holds orders will re-seed baseline data and can overwrite your admin account. Take a backup first, or point step 4 at an empty database.
Installer troubleshooting
| Symptom | Cause & fix |
|---|---|
/install shows a 500 error | storage/ or bootstrap/cache/ not writable → chmod -R ug+rwX storage bootstrap/cache |
| Requirements screen won't let you continue | A required extension is missing or a path is read-only — the failing row names it; fix, then Re-check |
| ".env is writable" fails | The file (or the project root, if .env doesn't exist yet) isn't writable by the web server user |
| "Could not connect" on the database step | Wrong host/port/credentials, or the MySQL user can't reach the server. The error text is the driver's own message |
| Database step succeeds but the tables step reports "not reachable" | A cached config is still serving old values → php artisan config:clear |
| The migration step times out | Web server timeout, not PHP → raise fastcgi_read_timeout / Timeout, or run php artisan migrate --force over SSH |
| Storefront is blank after finishing | No frontend build → npm ci && npm run build |
| Uploaded images 404 | Symlink missing → php artisan storage:link |
Every URL still redirects to /install | APP_INSTALLED never got written (read-only .env) or the config is cached → fix permissions, then php artisan config:clear |
More in Troubleshooting.